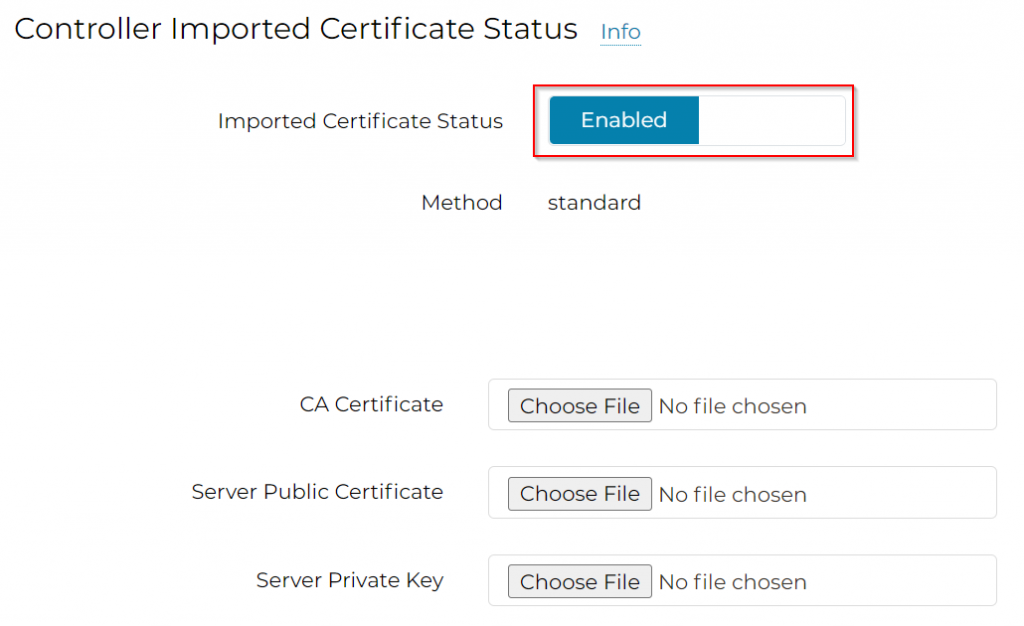
When first launched Aviatrix controller from marketplace, the Aviatrix controller give itself a self-signed certificate, and you have to use https://controller-ip to access it, which may not meet compliance requirement.
This blog will talk about getting a public trusted SSL certificate for Aviatrix controller.
First you will need to own a domain name, there are many domain registrar such as NamesCheap that you pay yearly, or Freenom for free with limited Top Level Domain (TLD) names.
Let’s say you have obtained your domain name: mydomain.com, and you have decided that to access your controller you would use https://avx.mydomain.com
Create an A record in DNS provider, so avx.mydomain.com would point to the Aviatrix Controller public IP.
There are free SSL certificate provider such as LetsEncrypt or ZeroSSL, in this blog, I’m using ZeroSSL to request a certificate for avx.mydomain.com, as it allows you request certificate directly from Web Page rather than using CertBot command line.
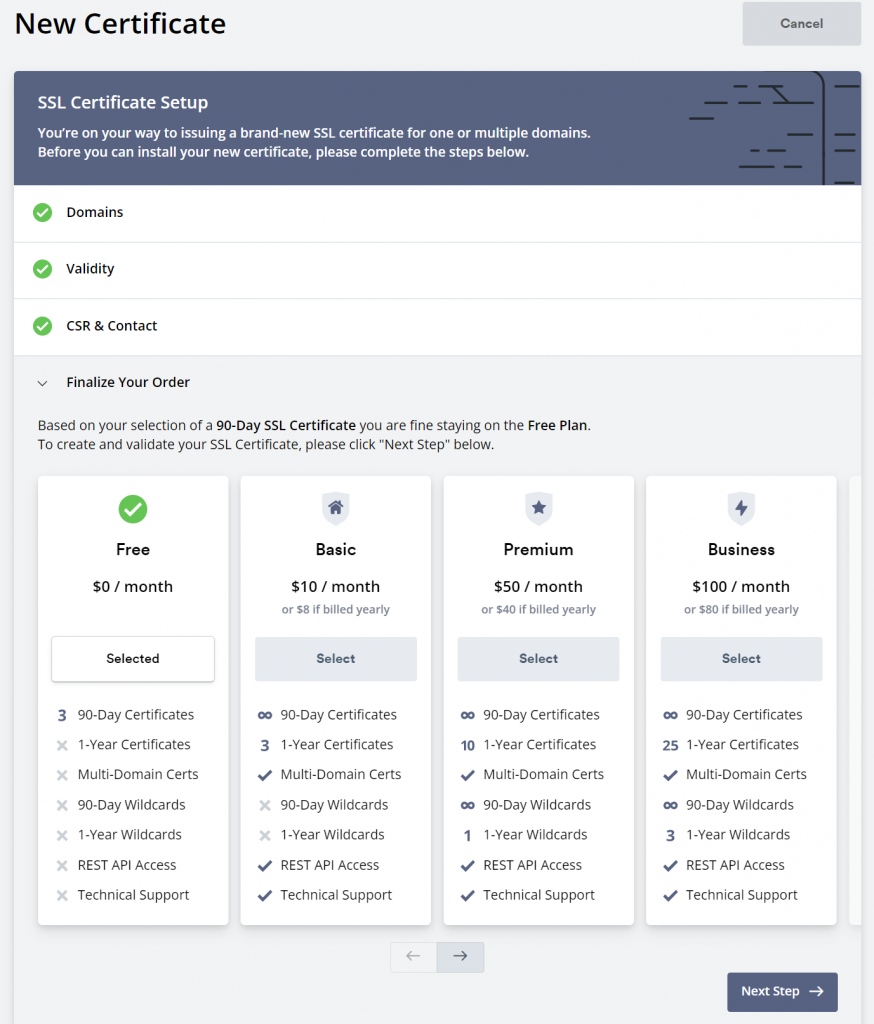
NEW! ZeroSSL limits total of three 90 days certificate, expired certificate also counts towards the total. If you need to get certificate frequently, follow this blog to get a free SSL certificate: Get a free public SSL certificate for testing environment using Posh-ACME
After you created an account in ZeroSSL, choose New Certificate
Enter Domains : avx.mydomain.com

I’ve picked 90-Day Certificate (Free)
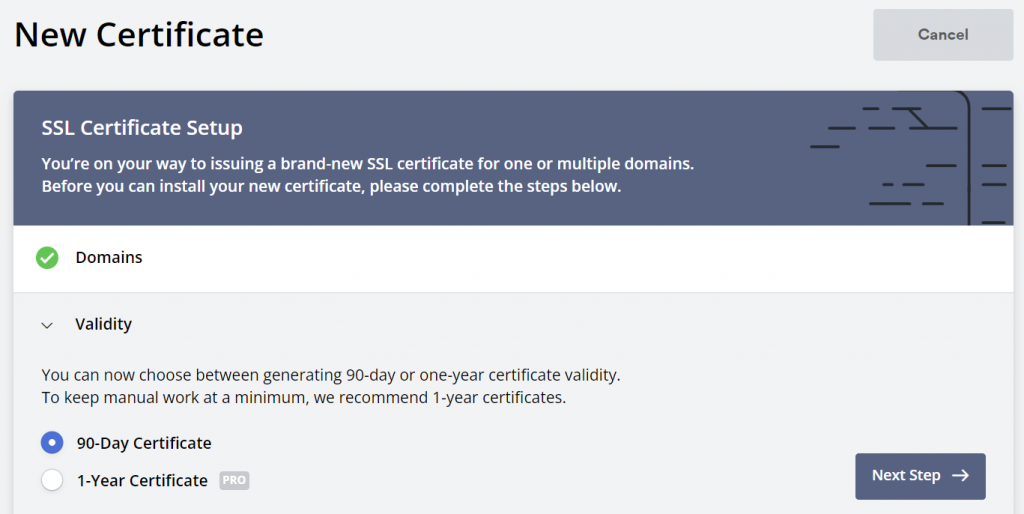
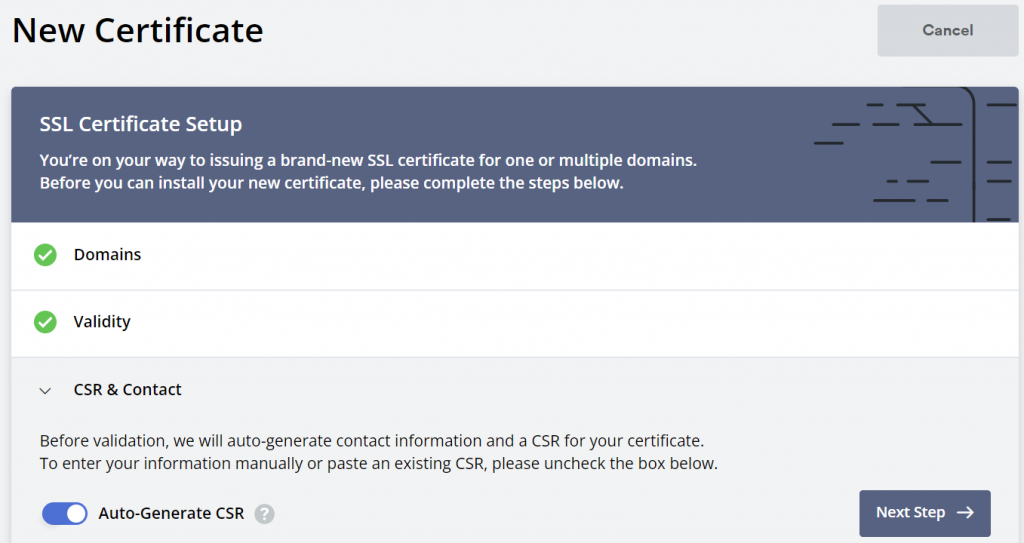
Leaving default to Auto-Generate CSR (Certificate Signing Request)
Stay with Free offer
Next step is to validate that you actually own the domain, if you just setup DNS, you may not have email or web page yet, so I’ve picked DNS (CNAME) validation. But you are welcome to use email provider such as zoho to setup mailbox (will require MX record for email), or create a webpage for file upload (Will require A record for your website)
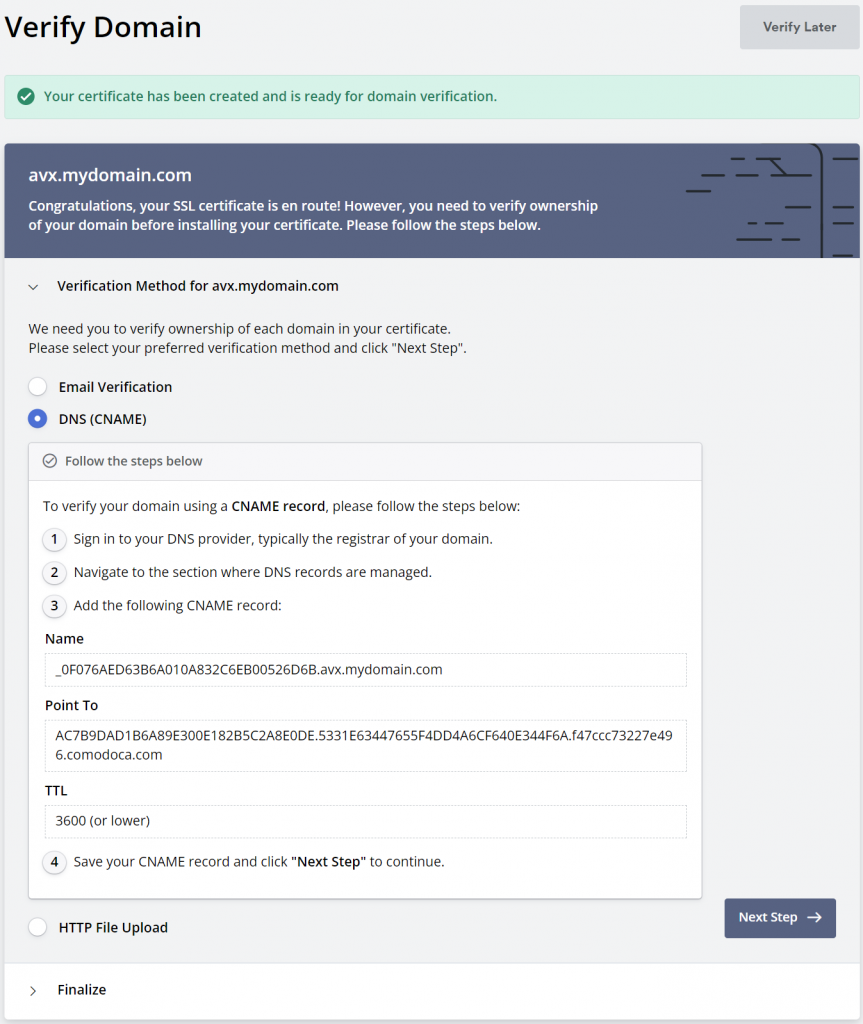
Goes back to your DNS provider and create the CNAME. DNS can be slow to propagate, after this I would suggest to wait for half an hour, before try Verify Domain button.
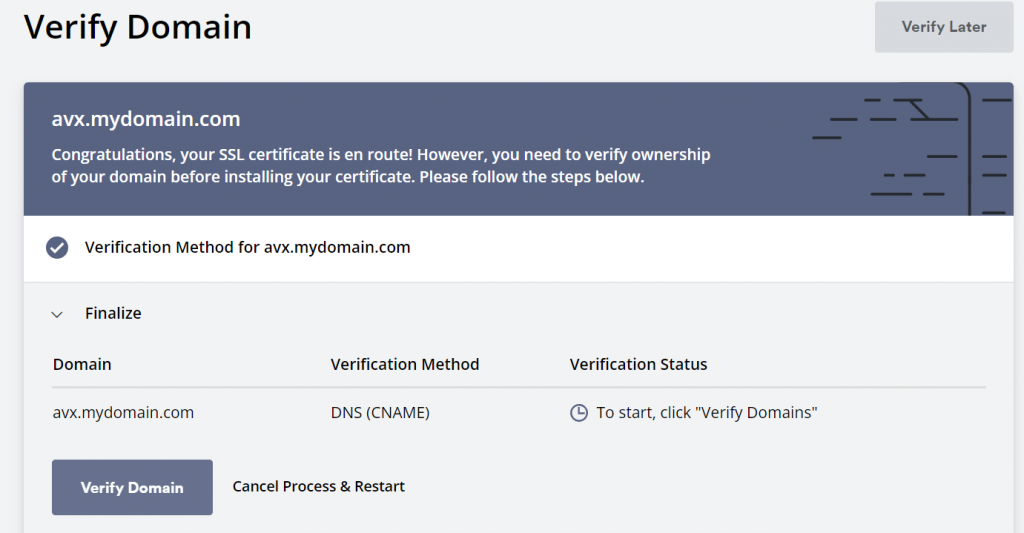
Once the domain is validated, and the certificate will be issued. You can choose to download the certificate zip file.
The zip file contains three files:

ca_bundle.crt: This file contains only one intermediate certificate (ZeroSSL CA).
certificate.crt: This file contains your primary SSL certificate
private.key: This file contains your private key
Note:
ca_bundle.crt and certificate.crt are PEM encoded X.509 certificate, when opens up using text editor, it looks like:
-----BEGIN CERTIFICATE-----
MIIGhz...
...
...WlLw==
-----END CERTIFICATE-----
private.key is PEM encoded RSA private key, when opens up using text editor, it looks like:
-----BEGIN RSA PRIVATE KEY-----
MIIE...
...
...
-----END RSA PRIVATE KEY-----
This article is a great read of different type of certificates.
Note: If you are planning to use Azure Application Gateway to front end your controller, you will need to obtain full chain cert. Otherwise Application Gateway would complain cannot validate root certificate.
The root certificate of the server certificate used by the backend does not match the trusted root certificate added to the application gateway. Ensure that you add the correct root certificate to whitelist the backendTo obtain full chain cert:
On MacOS or Linux:
cat certificate.crt ca_bundle.crt > full_chain.crtOn Windows:
copy /b certificate.crt + ca_bundle.crt full_chain.crtLogin to Aviatrix Controller, Settings -> Security
- If not using Application Gateway to front end controller:
CA Certificate : ca_bundle.crt
Server Public Certificate: certificate.crt
Server Private Key: private.key

- If using Application Gateway to front end controller:
CA Certificate : ca_bundle.crt
Server Public Certificate: full_chain.crt
Server Private Key: private.key

- validate avx.mydomain.com would resolve to the Aviatrix controller’s public IP
- Test access https://avx.mydomain.com
If you want to revert back to self-signed certificate, goes back in the Aviatrix controller UI, Settings -> Advanced -> Security -> Controller Imported Certificate Status -> Imported Certificate Status -> Toggle from Enabled to Disabled
