
I have recently moved from Windows 11 to MacOS 14.0.
In Windows 11, I had several scripts written in PowerShell or Python. For each script, a shortcut was created, an icon assigned, then the shortcut was pinned to the start menu for quick access.
It took me a while to figure out similar ways in Mac.
In Mac OS, Finder is similar to Windows Explorer. Launchpad is similar to the Windows Start menu. Finder -> Favorites -> Applications or Launchpad will show all applications installed on Mac.
A script, by default, isn’t an application. So my initial thought was how to make a script an application, which leads following methods:
Shortcuts
Search shortcuts under Launchpad

Create new shortcut
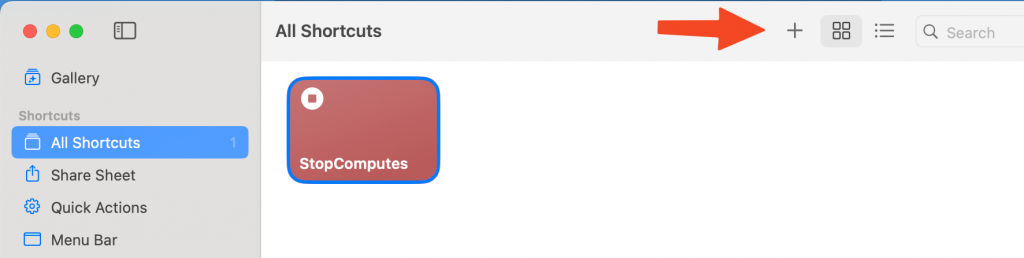
Select Run Shell Script and enter the command to run shell script

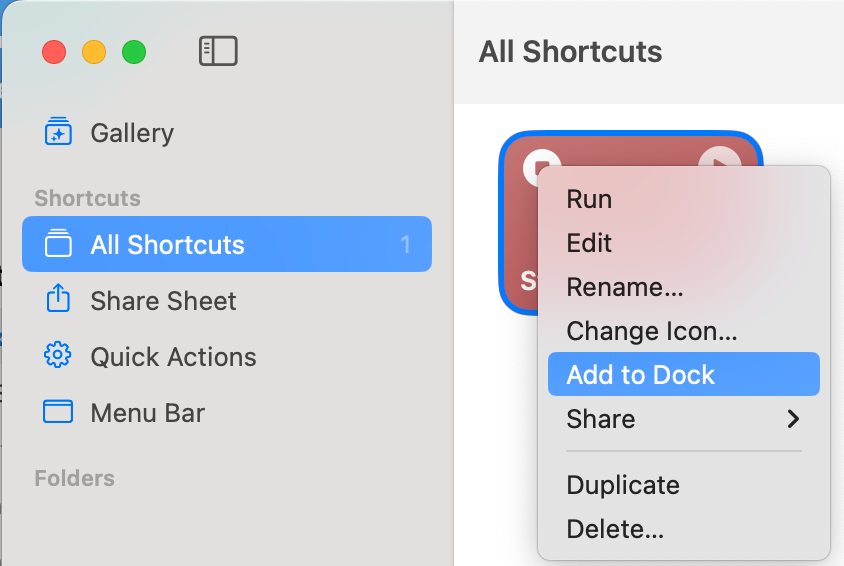
Once the shortcut is created, right-click on it and choose Add to dock. Note you can also change the icon as well.
The problem is that you won’t be able to see the output of the shortcut, so you don’t know the result.
Script Editor
In Launchpad, search for Script Editor

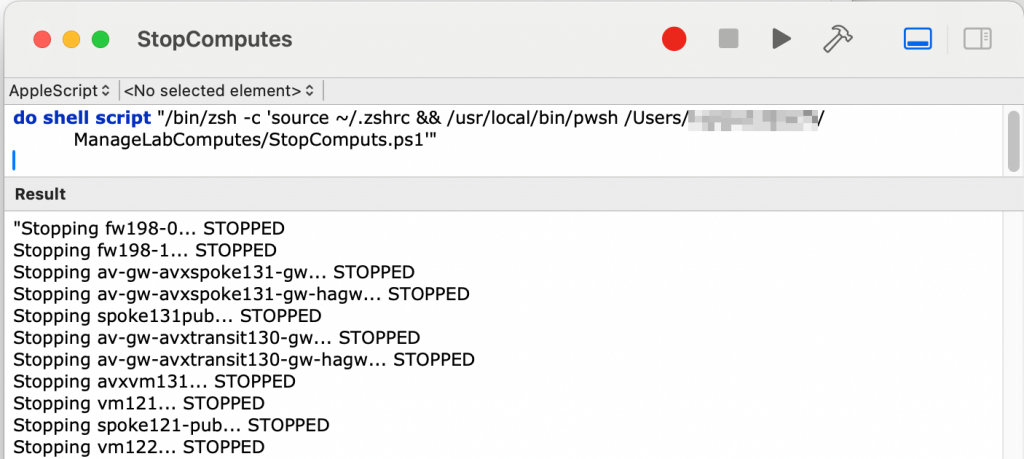
Wrap the command to launch your script within do shell script “” block. Note you are creating an AppleScript

When you run it in the Script Editor. the output will be shown in the Result section.
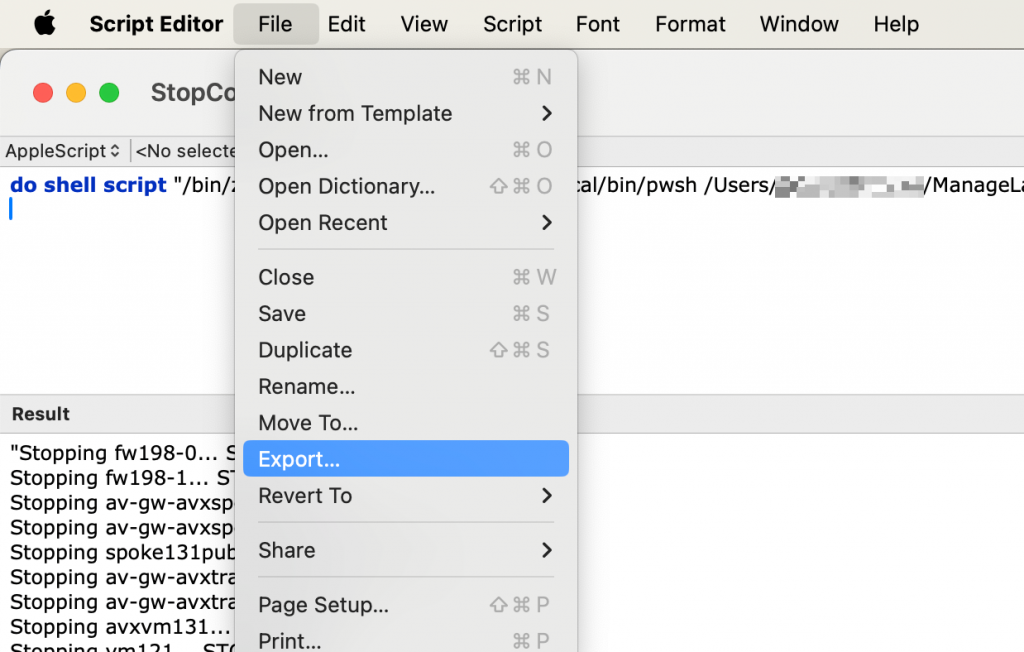
You can export the script as an application
In Launchpad, find the application, and run it
However, the problem is the same as shortcuts, there is no output if running as an application.
Automator
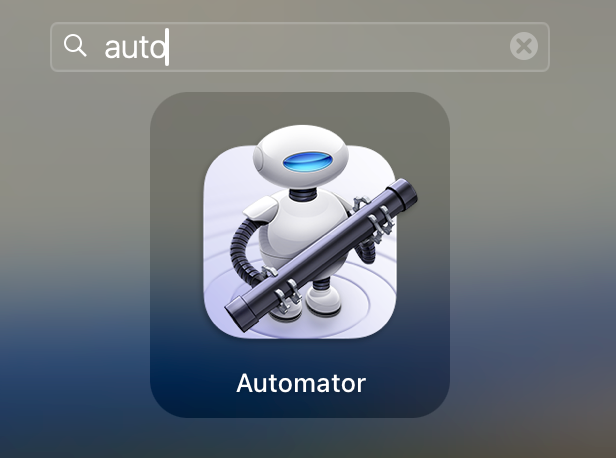
In Launchpad, find Automator
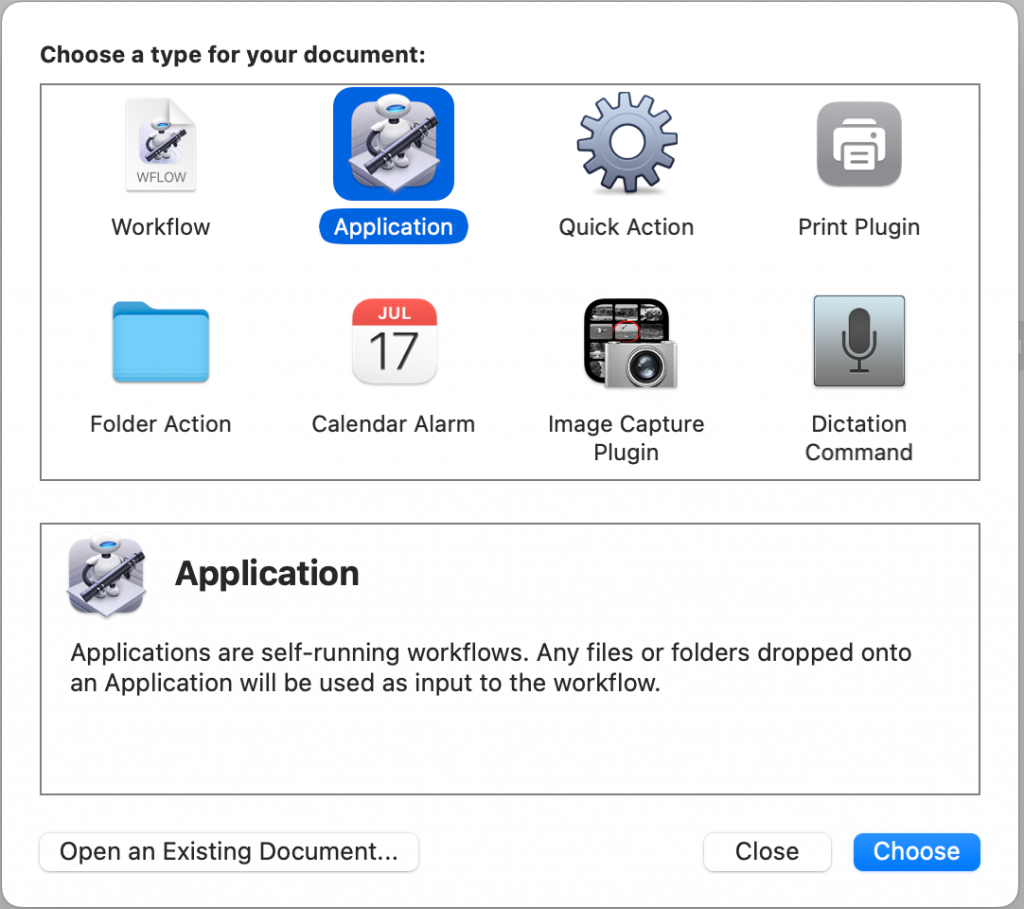
Choose application
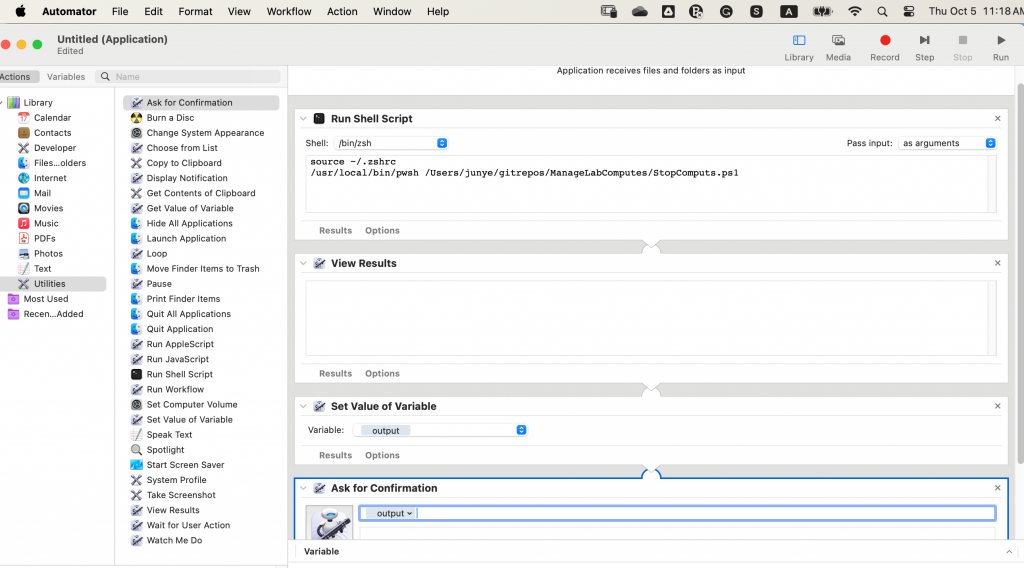
Add following blocks sequentially:
- Run Shell Script
- View Results
- Set Value of Variable -> New Variable -> enter ‘output’
- Ask for confirmation -> In the Message field start typing out, and it will list all variables match out*, and hit enter before completing typing the whole word. This will make sure the message field uses the ‘output’ variable instead of the literal word ‘output’
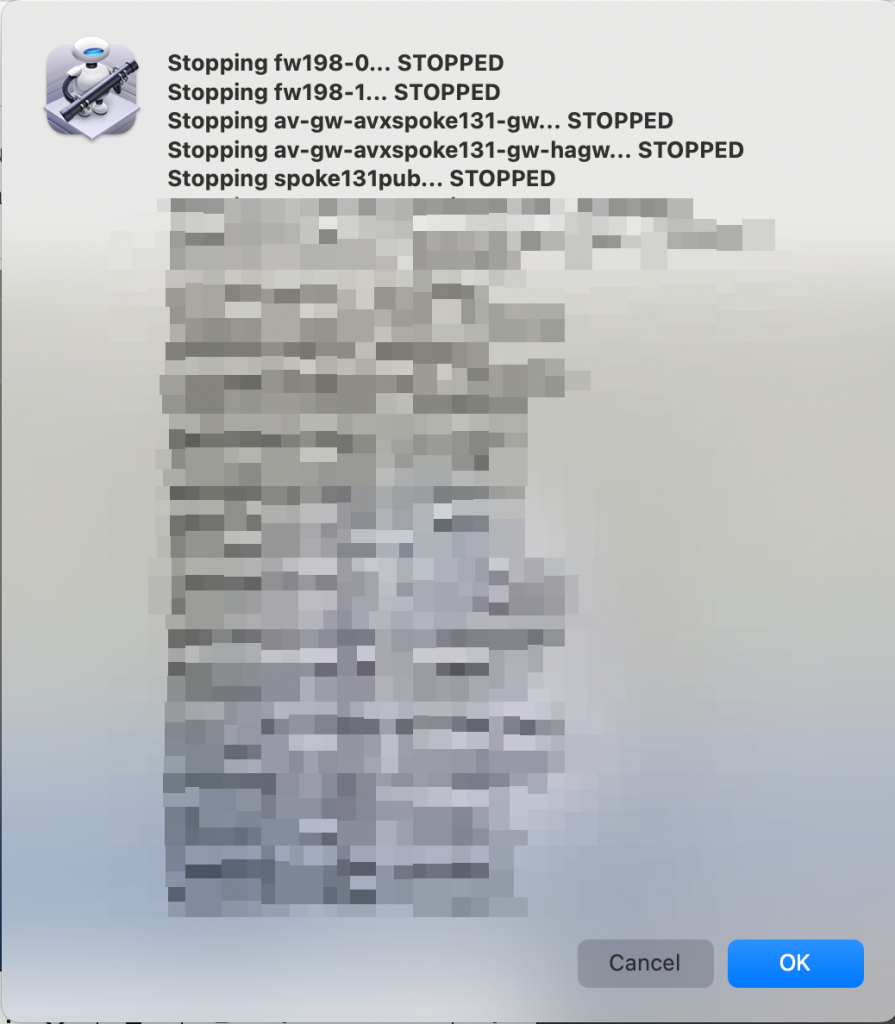
After you run your script, you will notice View Results will have the output from our script. As well as a popup window (from Ask for confirmation) displays the result.

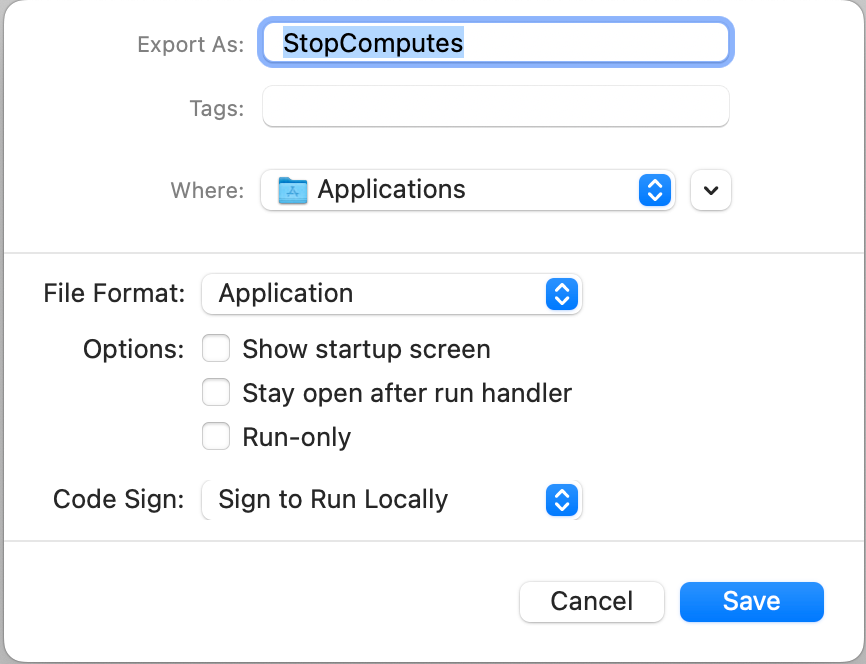
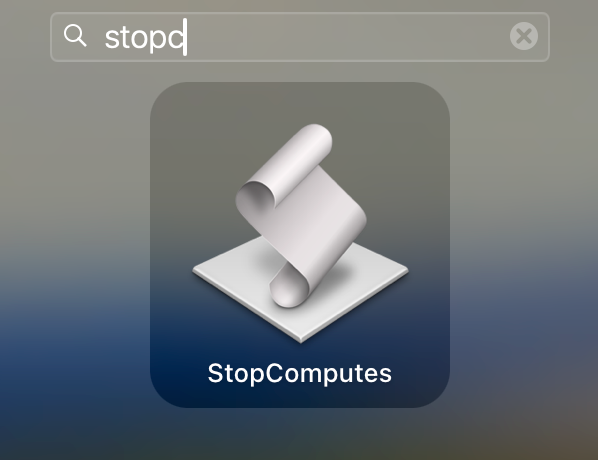
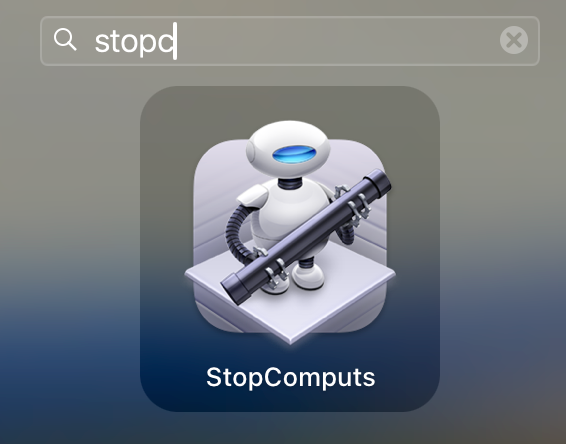
Now you can save the file in Application folder, and you should be able to find the application under Launchpad
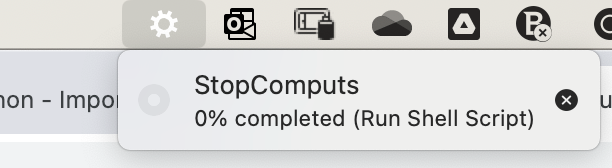
You may notice a little gear icon show up on your top menu bar, indicating the script is running
After the script is completed, the Ask for Confirmation task will have this popup screen.
This is very close to what I wanted, but still have problems.
- Automator seems to be very heavy on resources and runs quite a lot slower than the actual script.
- You won’t be able to see the result on the fly, only till end of the execution.
- If you have pages and pages of output, the message screen doesn’t provide a scroll bar.
.command file extension
Finally figured out what’s the most elegant way to complete this simple task.
In Mac OS, when you create a file as a .command extension, this file is similar to a Windows batch file.
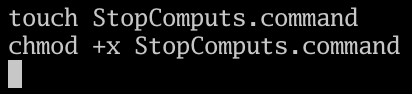
Create your .command file and use chmod +x to make sure it’s executable
Populate your .command file

Test run in terminal

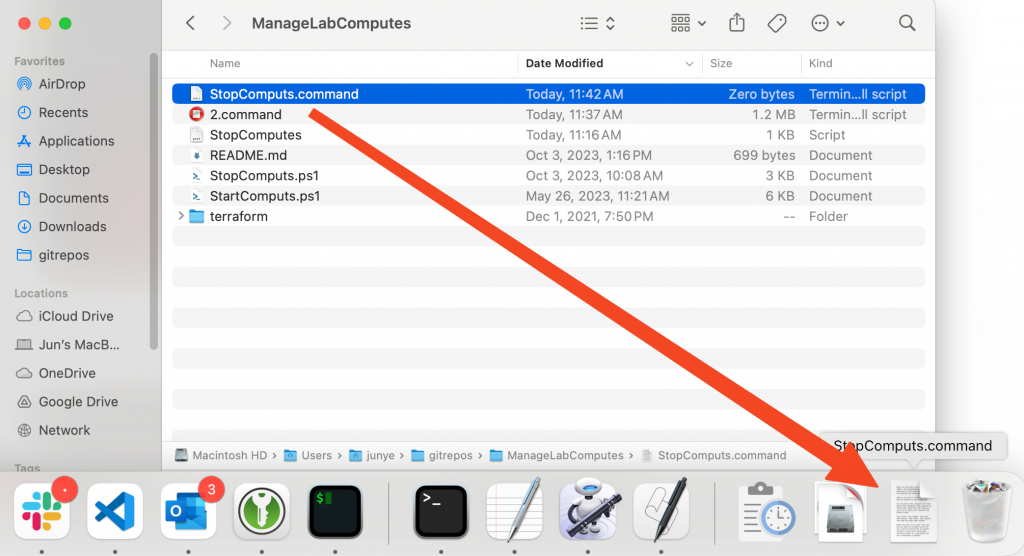
In Finder, find the .command file and drag and drop it to the right of the separator close to the trash bin.
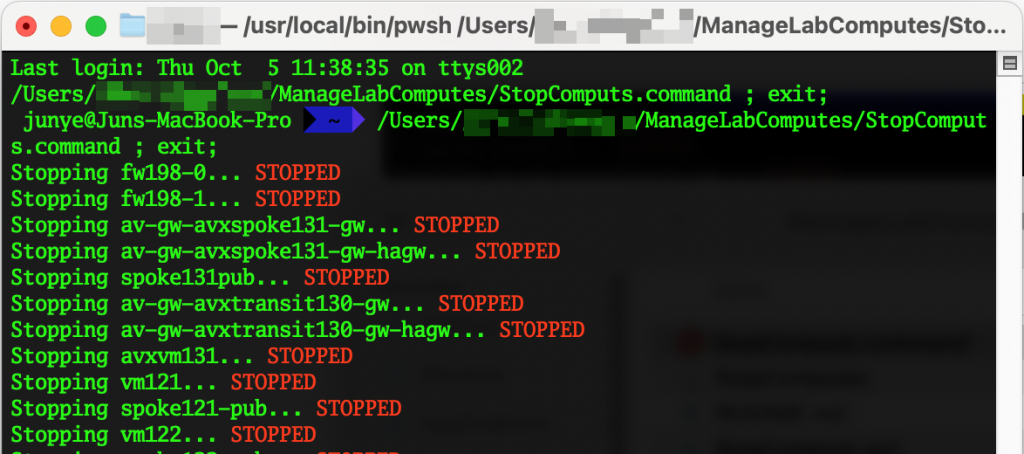
Now you can click on the icon from the dock, it will launch the terminal and execute the shell commands. Perfect
You may also want to change the icon of the .command file to something better suit your script:
https://support.apple.com/en-ca/guide/mac-help/mchlp2313/mac